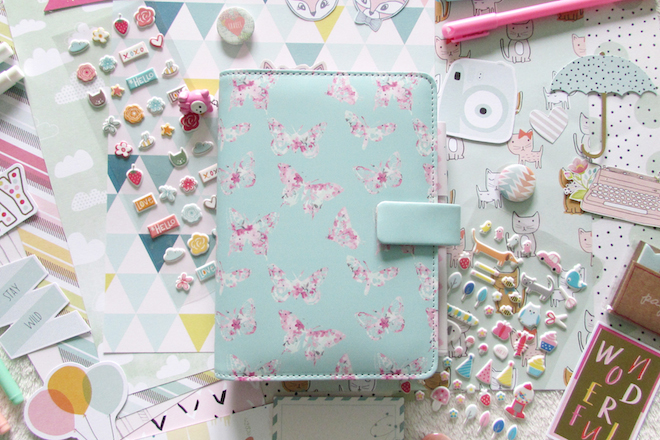
Last week I got to play with a new planner I ordered and had been waiting to come in for two weeks. It’s the Filofax Butterfly Personal Organizer and I ordered it from Amazon UK because it wasn’t available on the Filofax US site and it was much cheaper to order from Amazon UK than Filofax UK. Positive first impressions. The planner is very pretty. Soft pastels with a snap closure, just my style. My only complaint is that it’s much smaller than expected, but since I’m using it solely as my blog planner, it’s completely fine.
So my blog planner! I’ve decided to separate my blog planning section from my personal planner and into a planner of its own. I figured having my blog planning in a separate place will help me plan better. I know that sounds silly, but I feel like my blog section gets lost in my personal planner amongst all the other stuff that I just forget about it. So when I have an idea for a post I jot it down quickly somewhere else they plan it as I write it, which is not really productive blog planning as I would like to have multiple blog post ready to go, so I can space out my posts and post more frequently. So having a separate place for my blog–and my social media posts as well–seemed like a very good idea that I’d like to try out. Plus, I needed to put my new planner to use.


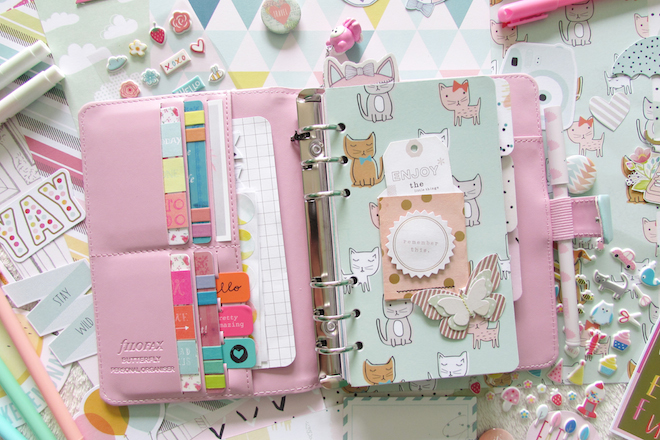
I basically set up my planner the way I had it in my personal planner. Upon opening it up you have my cute little dashboard and on the left I filled in the credit card pockets with some goodies like sticky notes and washi tape. For my dashboard I used 7Paper by Studio Calico Cat paper, embellished with standouts from Crate Paper’s Notes & Things. The rest of my dividers are made with paper from Ashley Goldberg and Maggie Holmes’s Confetti line. They are all embellished with either Project Life cards from Studio Calico, ephemera pieces from Dear Lizzy’s Fine & Dandy line, Cards from Heidi Swapp’s Memory Planner line, and standouts from Crate Paper’s Poolside line. I didn’t label any of my tabs only because I know where everything is and should be and I just prefer leaving my tabs blank.
After my dashboard I have the year at a glance overview that came with my Filofax. I kept it in just to cross-out the months as they pass. This was the only insert besides the filler paper that I kept from what originally came with this Filofax planner. Following that I have the clear dashboard that came with the planner, then I head right into my blog planning pages.


I broke down my planning by month. The first page you see is where I’ll jot down my blog ideas for the month and at the bottom corner is my “Blog Review,” or overview of how the month went. I’ll fill this out at the end of the month and jot down how many post were published, the total comments I got that month, and the total number of blog views.
The next two pages is my month at a glance. I used a free printable from Chelley Darling for my month on two pages. This is where I’ll write down when I publish my blog posts. I basically write down the post title on little circle stickers and place the sticker on the date I want that certain post published, so in case I don’t finish up that post in time, I can move it to a different date on the calendar without having to cross anything out. This essentially is my editorial calendar. The following page is where I track my social media pages. At the end of each month, I’ll fill out how many followers I have for each, that way I can see how much my audience grows.


The next section just holds my “Blog Content Planner” pages. This is where I brainstorm and plan each individual post. I’m currently using a free printable from StudioL2E for this. It’s a perfect printable to organize your thoughts on a post you want to write. It also acts as a check list of all the things you need to do–like take pictures, film videos, etc–for each post.
My last two sections hold a bunch of miscellaneous things and lots of filler paper. The miscellaneous section holds a lot of general to do lists as well as my new YouTube subscribers tracking list. I’ll use this section for planner and Instagram photo challenges as well.


Here’s a video flip through of my current blog planner setup.
piraguismo en portugal
Hey there! Do you use Twitter? I’d like to
follow you if that would be okay. I’m absolutely enjoying your blog and
look forward to new updates.