how to create a greeting card folder
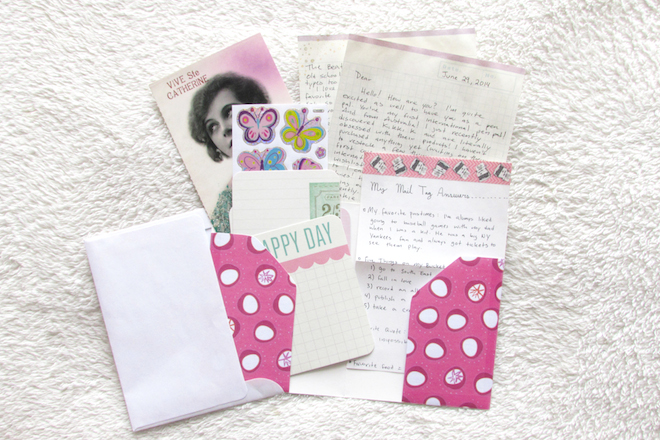
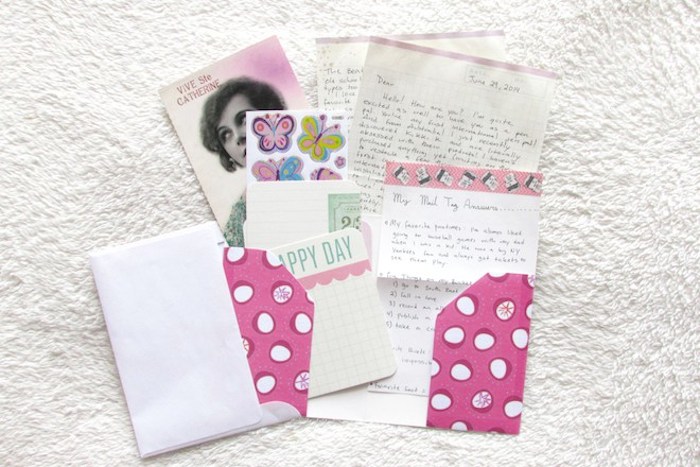
My pen pal Mary once sent me a small greeting card which she turned into a little folder to hold the letter, mail tag, and other goodies. She made little pockets to fit on each side, then once she had everything in the folder, she sealed the card and it slipped so easily into the envelope. I thought it was such a great idea that I’m going to see if I can copy her and try it out!
A Few Things You’ll Need
- A greeting card. I suppose you can use any size you want. I’m just going to use a small card.
- Some scrapbook paper. Any design you want. I aimed for similar colors because I like things to match.
- Clear Scotch tape. I guess you can also use washi tape if you want to mix n match patterns.
- Scissors
- A pencil
- Ruler
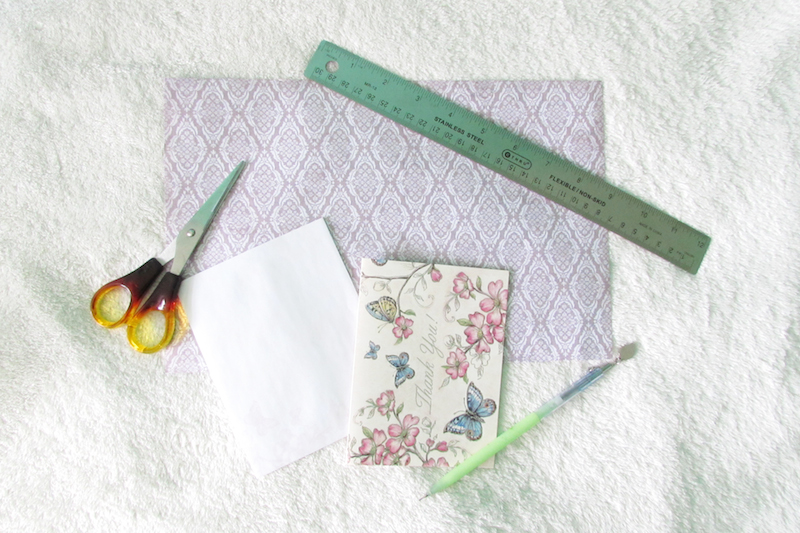
Gather all of your materials. Once you have your greeting card and scrapbook paper in hand, measure your scrapbook paper so that the height matches the card’s height. Mark the height then cut your paper to size. You’ll need two pieces of scrapbook paper, one for each side of the card. Once you have two pieces of the same height, measure each against one side of the card to make sure the width of the paper is either exactly the same as one side of the card or a little shorter. The two pieces don’t have to be exactly the same widths yet because you’ll draw an outline of the fold on the back of each, making sure those match, then cutting the shape out to fix to the card.
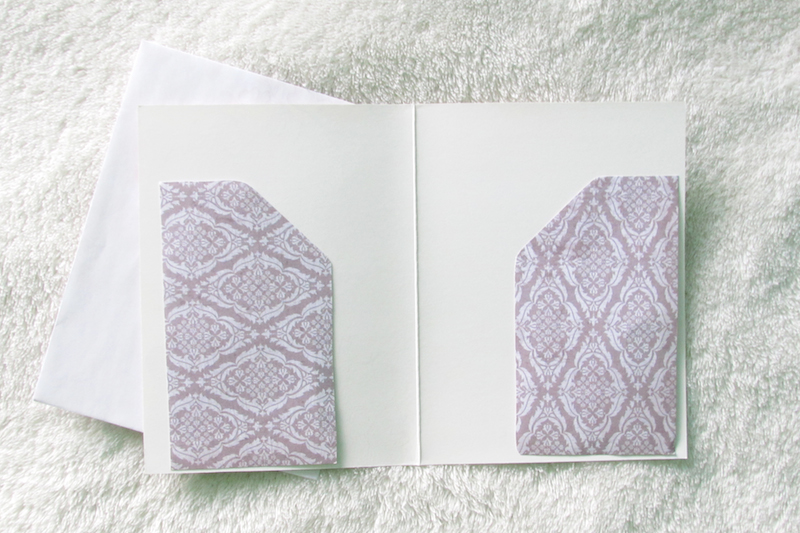
Once you have two pieces of the exact size and exact (but opposite) shape, you can adhere it to the card on either side. I used clear tape so it looks like the card came that way. You can use washi tape if you like, as long as the two pieces of paper are fully taped to the card along the cards’ edges. Once the pieces are tapes to the card, your greeting card folder is done! You can now start stuffing it with bits and pieces…as much as you can that will fit! Be sure to seal your card with a nice sticker or piece of washi tape, just to make it something your pen pal would like to open!
Try it out and have fun!